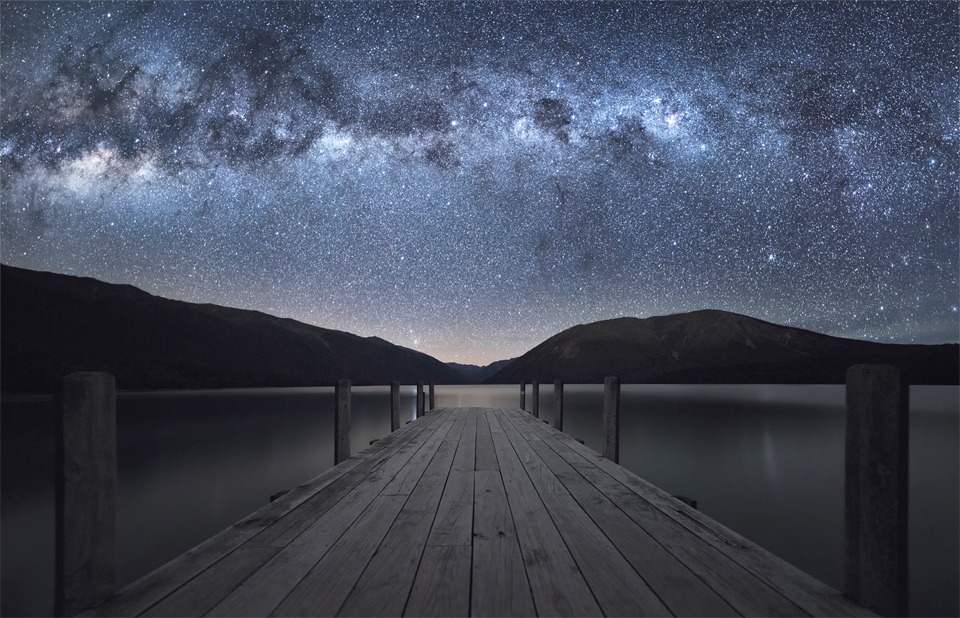
Milky Way over Lake Rotoiti
Running Around NZ
One of the added bonuses of being in New Zealand is the walking trails. My wife and I aren’t walkers typically, but we are runners. My wife runs a comfortable 6 minute mile (and under) over 10km, whereas I kind of plod along slowly, just enjoying myself.
Back in Korea there was a cosy little canal that cut through the city where I used to run. It was a nice run, but after a while I started to crave a change of scenery.
 So far we’ve managed to run in most locations in New Zealand, and it has been spectacular. There’s nothing quite like gently running alongside a calm morning lake, or hoping over logs and stones through a forest trail before dawn.
It has really injected me with even more passion for running. When you’re surrounded in natural beauty, concentrating on where you’re putting your feet, the run sometimes seems effortless. Usually, when running the same old courses, my mind can focus too much on fatigue and I think I tire quicker.
One of the challenges of running, however, is where to put my photography gear. I have it on me most of the time. In terms of accommodation we have a small camper van, but we’re alternating between the camper, cabins, and hotel rooms.
When we have a cabin or hotel, I just leave my gear in the room. But in camp sites, I have to leave my gear at reception. There’s always a small part of me that remembers back to being robbed of all my gear a few years ago, whenever I hand over my bag to reception. But New Zealand seems like a very chilled place so I’m not anticipating any problems so far.
We’ve even started planning a few running routes in the U.S. and my wife has found a running tour of New York, which seemed especially appealing since, after running through the city streets with other runners, you finish with a nice cold beer.
________________________________________________________
How I Created The Image
The Cool Bits -Technical Info
Processing Time: 45 minutes
Exposure Blending method: N/A
No. of Exposures: 7-tile pano (4 for Milky Way – 3 for foreground)
EV Range: N/A
Aperture: f/2.8
ISO: 6400
Focal Length: 14mm
Lens: Nikon 14-24 f/2.8
Camera: Nikon D800
Plugins: Nik Dfine
Luminosity Masks: used to create softer shadows
Workflow Explanation – Milky Way over Lake Rotoiti
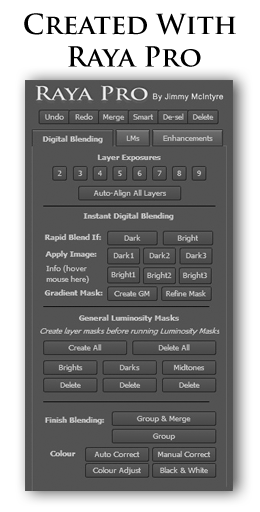
This image was created using Raya Pro – The Photoshop Plugin.
Sorry guys, my internet is fairly bad at the minute. I uploaded this image to the blog a week ago while in Queenstown, but here in the Catlins the internet wouldn’t allow me to upload all of the original files. I will try to update it once I get to a better internet spot.
But keep an eye out for next week’s photo from Milford Sound – we were gifted with an epic scene that I can’t wait to share. This will include before/after images.
This panorama was originally comprised of 7 tiles. I should start by saying that I cheated a bit here. The Milky Way was shot at this location, and all images were shot within a 20-minute window. However, the Milky Way was actually much higher in the sky.
I shot 4 exposures for the Milky Way. Then I panned down and shot 3 longer exposures for the foreground. After stitching the foreground exposures, I then stitched the Milky Way Exposures. I then did a straight sky replacement, swapping out the original sky in the foreground stitch with the sky from the Milky Way stitch.
Stepping back a little bit, I gave the Milky Way more impact when editing it in Adobe Camera RAW, using the Clarity slider.
Purple colour noise was reduced in the ACR using the colour sliders, and then desaturated more by selecting the purples via a Hue/Saturation layer and bringing the slider down.
I also made sure both the foreground and Milky Way stitches had the same blue, cool cast. I personally prefer this to the brown, warmer colour cast some photographers like to keep in their astro shots.
When the images were put together, I added a few different contrast adjustments. To add a little bit more contrast to the foreground jetty I used the DB Details function in Raya Pro. Then I added a few Levels layers to get the midtones and highlights to a point where I was happy.
Using a Darks 5 luminosity mask from Raya Pro, I then raised the shadows a little bit, just softening the contrast overall – this is something I frequently do with my landscapes.
I used a colour balance layer to add some soft blues to the shadows. I used Nik Dfine to reduce noise in the image.
To finish, I created a custom vignette that you can learn to do here: Quick Photoshop Secrets 9: Awesome Vignette For a Moodier Scene.
Finally, the image was sharpened and resized using my free sharpening tools, which you can download here: Quick Photoshop Secrets 16: Perfect Sharpening & Resize for the Web
As always, I hope you found this useful.
Jimmy

Share this:

This entry was posted on Thursday, March 31st, 2016 at 12:45 pm
You can follow any responses to this entry through the RSS 2.0 feed.
I would enjoy a lot a video of the postprocessing of this image, Jimmy. Thank for your posts. Greetings from Spain
I’m glad you got to see the Milky Way from the Southern Hemisphere, I keep trying to tell people they have no idea how mind blowing it is and your picture say it all, brilliant work!
Excellent, thanks Jimmy!
Jimmy I’ve been carrying my Nikon D810 with a 24 mm manual focus lens on my runs. Have you found a good way to carry camera equipment while running?
Sadly not, Larry. I just leave my gear in the hotel room or reception. I’d love to able to take it out but I worry about it being knocked about too much. Maybe someone needs to invent a little running bag for photogs.
“…a comfortable 6 min mile” ( ! )