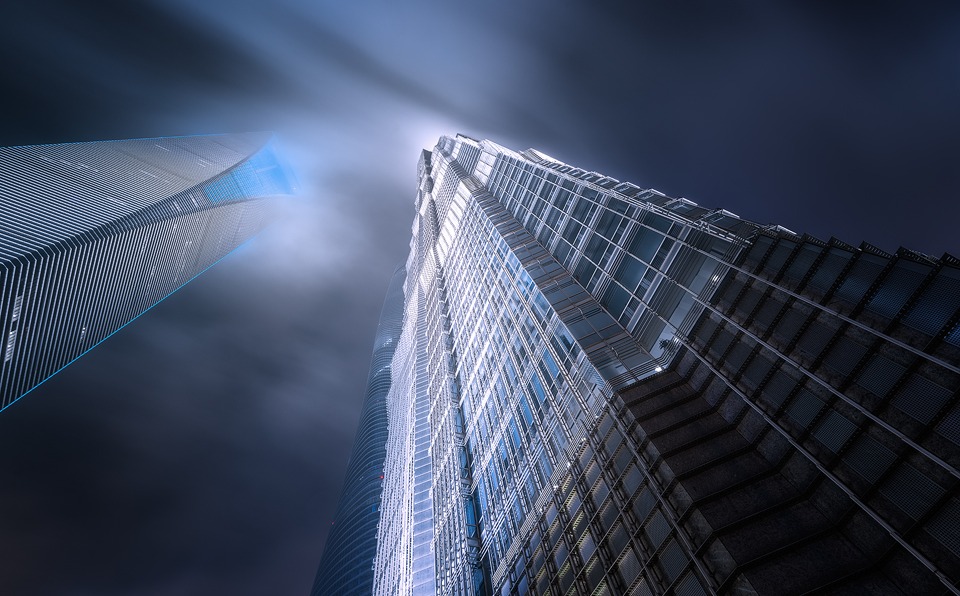
Shanghai Looking Up
Joining Instagram, Being 500px’s Guest Editor & A Photowalk
I finally joined Instagram this week. I had considered joining sooner, but I honestly couldn’t bring myself to crop an 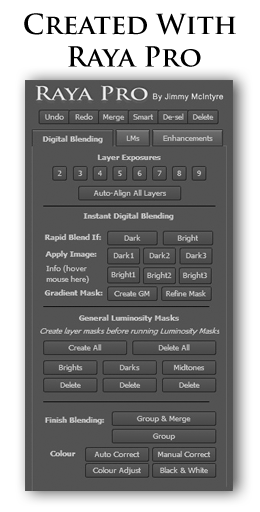 image just for social media. I’m sure many would disagree, but we go so far to capture and create our images, carefully composing and cropping (lots of C’s) – shoving it into a square format for Instagram just didn’t sit well with me.
Well, the square crop restrictions have now been lifted so I’m happy to catch up with the rest of the world. If you’re on IG (I learned that this is what the cool kids call it), feel free to connect over there: https://instagram.com/jimmy_mcintyre/
I’ve been invited to be a Guest Editor for 500px this month. It’s a huge honour. I’m attempting to see more images that I wouldn’t normally visit to give each a fair chance of being Editors’ Choice.
Finally, but still with 500px, I’m hosting their Busan Photowalk on the 26th of September. If you’re in Korea, come and join us. You’ll have a blast! Here is a link for more information: https://www.facebook.com/events/1642694939276596/
________________________________________________________
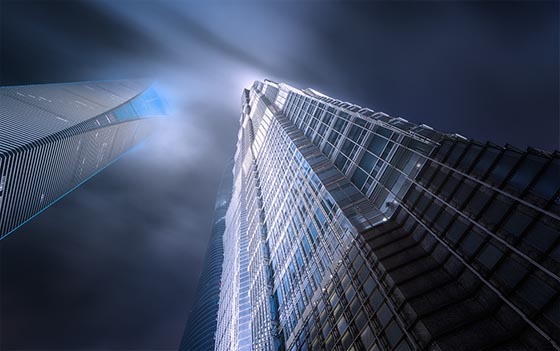
How I Created The Image – Before/After Post-Processing

The Cool Bits -Technical Info
Processing Time: 20 minutes
Exposure Blending method: Rapid Blend If in Raya Pro
No. of Exposures: 3
EV Range: -2, 0
Aperture: f/13
ISO: 100
Focal Length: 14mm
Lens: Nikon 14-24 f/2.8
Camera: Nikon D800
Plugins: Nik Color Efex Pro Contrast Filter
Luminosity Masks: N/A
Workflow Explanation – Shanghai Looking Up
This image was created using Raya Pro – The Photoshop Plugin.
This image presented one small challenge – it was taken in the middle of a typhoon.
With these beautifully low clouds swooping past the buildings, I knew I could capture something dramatic. I had to wait it out under a shelter for 45 minutes for the rain to stop. Then I noticed a little bar with an outside terrace that was covered. So I spent another hour waiting, but this time with a nice cold beer.
Eventually the rain slowed down to a drizzle. Since the camera was facing almost straight up, I was getting drops of water on my lens with each exposure. Each time I had to wipe the lens with a kleenex and shoot again. I knew that with enough shots I could combine them later in post to come out with a raindrop-free image.
In the end, all I needed was two exposures for a clean image, and one darker exposure, to control the highlights.
I blended the darker exposure by using Apply Image Dark3 in Raya Pro. This did a beautifully clean job of instantly restoring the highlights.
I used Nik Color Efex Pro Contrast filter to add more drama to the clouds, and a little bit of contrast in the building to the right.
After a few contrast adjustments, I then created multiple vignettes from the Light Vignette in Raya Pro. I gently painted out areas that I didn’t want to be affected. It was important to have a smooth gradient of shadows, pushing the light towards the top of the buildings.
For colouring, I merged the layers non-destructively and opened up the Camera RAW filter (you can do the same with Lightroom). In here I desaturated the greens/cyans. I then changed the hue of the blues to a deeper, more satisfying colour.
I removed the lamppost at the top of the image with the clone stamp. And I used the Sensor Dust function in Raya Pro to spot and clean the image.
Finally, the image was sharpened with Raya Pro.

Share this:

This entry was posted on Thursday, September 3rd, 2015 at 10:52 am
You can follow any responses to this entry through the RSS 2.0 feed.
Thank you for your amazing posts/images! The backdrop stories are very valuable to support your images.
I’m glad you enjoy them Allen. Thank you for the comment.
Really great shot, I love your photos. Keep up the good work!