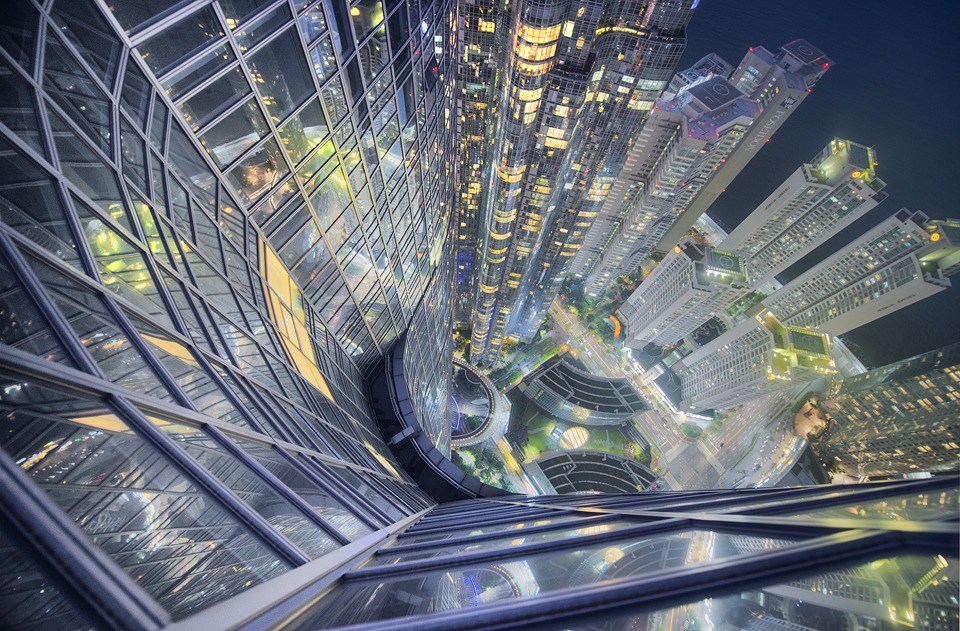
Finally! On Top Of The Zenith
On Top of the Zenith
Five attempts over the last year and a half to get on the roof of one of these buildings, and I finally managed it. It was worth the perseverance. I was a little bit worried about the conditions beforehand, as the government had issued high wind warnings.
As we exited the freight elevator and made our way up the fire escape to the roof, we could hear the wind howling. Pushing the door to the roof, hoping it was unlocked, I was imagining a veritable hurricane would greet us. To my delight the door opened freely, and although it was windy, the worst of it was held at bay by the large barriers that surround the rooftop.
Not knowing how much time we had before security would arrive, we scattered, looking for an ideal composition. I was desperate to capture an image down from the great height we were at.
The wall, ledge and smallish opening that I had to shoot through meant tripods are a little tricky to use, but not impossible. However, for the image I wanted, I needed to hang myself over the ledge, and place the camera close to the glass. Although this is a lot safer than it sounds, your heart still skips a beat when you find yourself hanging virtually upside down 75 floors high.
My camera was firmly strapped to my arm. My only concern was that I was no longer protected from the wind by the barriers. The wind would come in waves. When it hit me it felt like my breath was being forced back down my throat.
Since I couldn’t use a tripod I was shooting handheld. Challenging enough in low light, it was made all the more challenging by the wind. Nevertheless, I waited for the brief moments of calm to arrive and shot enough exposures to cover my bases.
In the end, the security didn’t arrive. After shooting, we headed down for a celebratory beer.
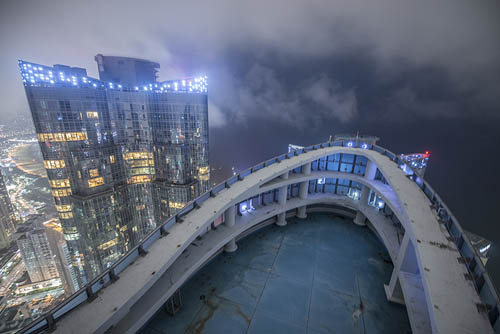
Here’s a behind-the-scenes look at the rooftop
________________________________________________________
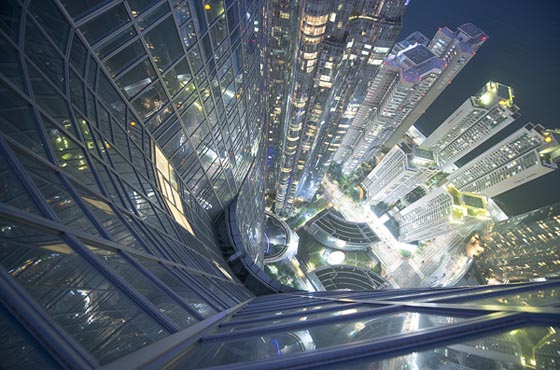
How I Created The Image – Before/After Post-Processing
The Cool Bits – Technical Info
Processing Time: 15 minutes
Exposure Blending method: Apply Image in Raya Pro
No. of Exposures: 2
EV Range: -2 & 0
Aperture: f/2.8
ISO: 1000
Focal Length: 14mm
Lens: Nikkor 14-24mm f/2.8
Camera: Nikon D800
Plugins: None
Luminosity Masks: Used to protect highlights
Workflow Explanation – On Top of the Zenith
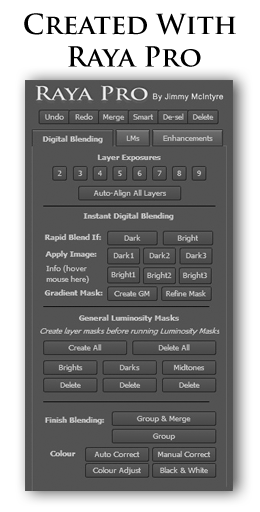
This image was created using Raya Pro – The Photoshop Plugin.
I used two exposures for this image, which were 2 stops apart. I had to tweak the shadows and highlights a touch in Adobe Camera Raw so that the full range of light was covered in these exposures.
In Photoshop it took a couple of seconds to blend the exposures using Apply Image – Bright 1.
As you can see in the before image, the face of the building in the foreground is dull. I had to get this area to a point where it became the focal point of the image. I brightened this area up with a levels adjustment layer.
To really bring it to life, I applied some very strong local contrast. I did this by using the DB Details function, and using a Radius of 150. Usually DB details is a detail enhancer (you can see how to do this yourself in this tutorial (Quick Photoshop Secrets 6: How To Enhance Details Beautifully). But by choosing a much wider radius it becomes a super local contrast booster, much like the Clarity slider in Lightroom/ACR and the Dynamic Contrast slider in Color Efex.
With this layer, I removed the black mask that was automatically applied and instead, with a new white mask selected, I pressed Apply To Shadows x1. The DB Details layer pushed the highlights too far, over exposing them. This restored the highlights while still keeping the local contrast boost. I then masked out the DB Details layer for most of the image, apart from the foreground.
To boost this even further, I duplicated the DB Details layer. This got the foreground to where I wanted it.
In terms of contrast, I used a couple of Levels layers, applied to different areas, but was always careful to protect the highlights. To give them image a very faint glow, I created an Orton Effect (OE 2 on Raya Pro), but only at a low opacity of around 20%. I added a Shadows layer in order to protect the shadows from becoming under exposed.
I finished the image with a Light Vignette, and then let Raya Pro work its magic in making it nice and sharp for the web.

Share this:

This entry was posted on Monday, July 27th, 2015 at 12:47 pm
You can follow any responses to this entry through the RSS 2.0 feed.
Breathtaking job and why Im a subscriber. Now I just have to make Raya Pro second nature.
Thank you! Hopefully it won’t take long 😀
Superb image Jimmy, well done for sticking at it! 😉
Thanks Peter!
Again awesome work. You keep on delivering… Loving it! Keep at it! 😉
Thank you Sascha!!!
Really inspirational work and writing. Thanks so much great artist.
Thank you very much!
Jimmy, you realize your quite mad, brilliant, but quite mad….. even just looking at the picture my knees tremble, the description had me reeling. Heights not my strong point… Fantastic photo mate, huge admiration.. thank you.
Thank you for the kind words. Madness runs in the family but, being scared of heights somewhat, I never envisioned voluntarily hanging myself over a 75 floor building 😀
So awsome man! Waiting for the day someone launches a drone from the Zenith roof.
That would be amazing. Needs to happen soon because the Korean government are really cracking down on drones!
Awesome Jimmy, just purchased Raya Pro on the back of this image and totally blown away, my photography PP has just produced my first stunning image using the power of Luminosity Masking, amazing and thanks as a pro photographer I rarely believe the hype and have wasted hundreds of pounds on useless products but not this time, cheers.