White Pockets & Red Lines
Adventures in White Pocket, Arizona
White Pocket is one of those places where, as soon as you arrive, you automatically begin to image its inhabitants long past. I could see cowboys stopping here to let their horses drink from the water, while being stalked by locals, whose weapons were at the ready.
You feel like you are in the middle of nowhere – an hour and a half drive along a sandy track, off the interstate. Our only company was a rattle snake that invaded our camp (we were a group of 11 people in total) and coyotes who yapped at night while you made your way along the dark track back to camp.
It is a strange place, White Pocket. At first it seems like very little would inhabit the place. But if you sit still long enough, and in these blistering temperatures sitting for a while in the shade is a must, you start to see little creatures, confident of not being observed, darting to and fro.
Apart from snakes and coyotes, all manner of smaller bird, insect and animal frequent White Pocket, presumably because it is a source of water. Although, being the middle of summer, most of the water was long evaporated when we were there.
Nevertheless, birds were swooping down to catch insects, rabbits hopped from cover to cover, squirrels popped theirs heads out occasionally, lizards clung to the sides of rocks, and wasps were everywhere.
I decided in the morning, after a very enjoyable sunset shoot, to record a video tutorial. There was something eerie about standing among these strange rocks, my voice echoing around. But the place was such an inspiration that I wanted to offer something more than a photo. I hoped that it would make an interesting backdrop to a useful tutorial. You can see the video below.
________________________________________________________
How I Created The Image – Before/After Post-Processing
The Cool Bits -Technical Info
Processing Time: 35 minutes
Exposure Blending method: Apply Image in Raya Pro
No. of Exposures: 4 (2 tile, 4 exposure panorama)
EV Range: 0, -2
Aperture: f/9
ISO: 100
Focal Length: 14mm
Lens: Nikon 14-24mm f/2.8
Camera: Nikon D800
Plugins: Nik Color Efex
Luminosity Masks: Used to protect shadows
Workflow Explanation -White Pockets
This image was created using Raya Pro – The Photoshop Plugin.
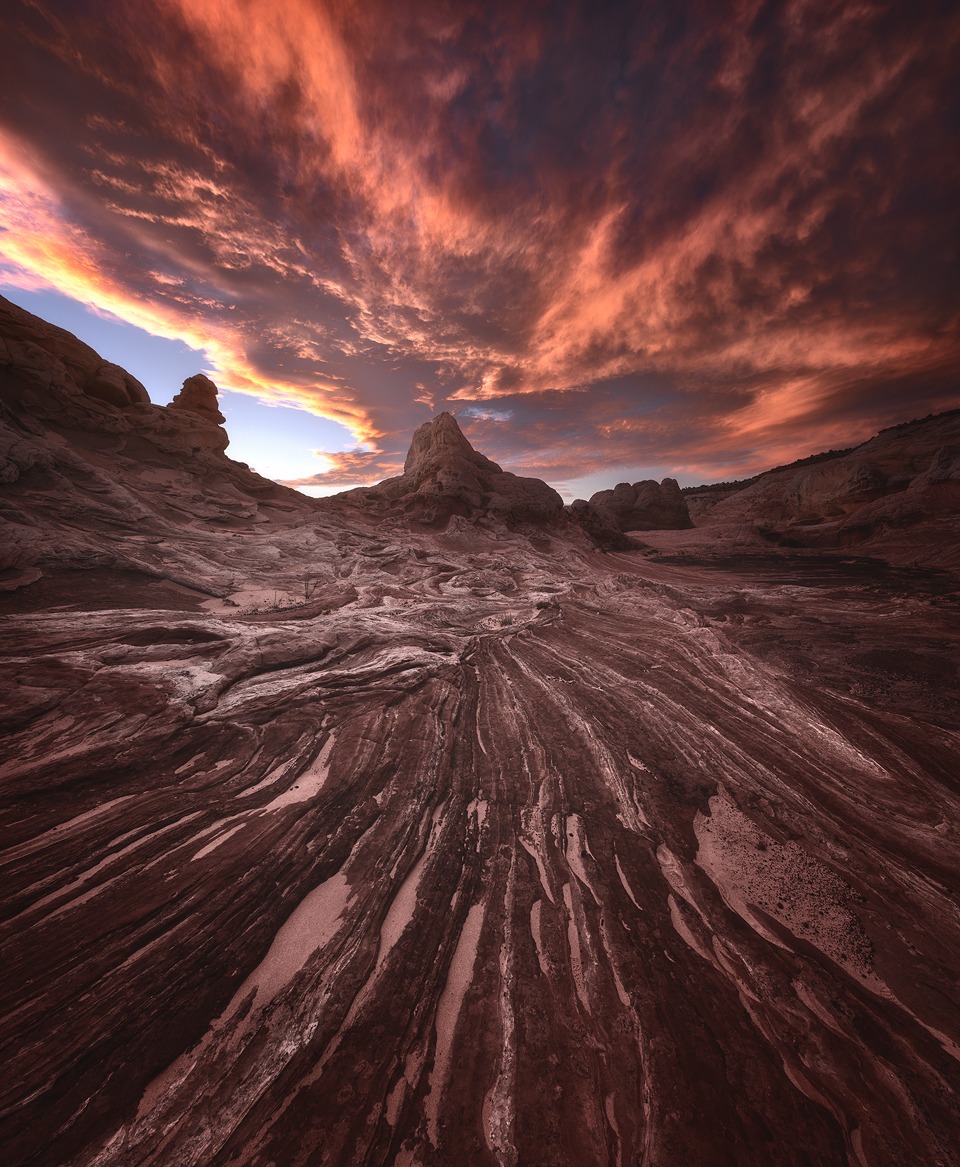
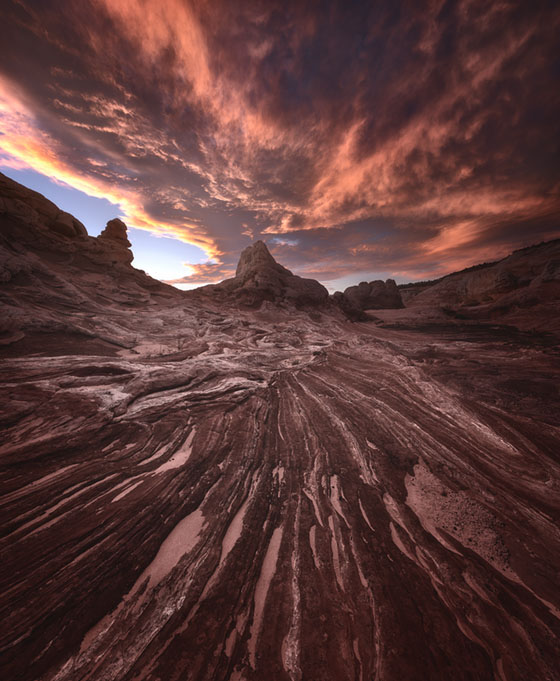
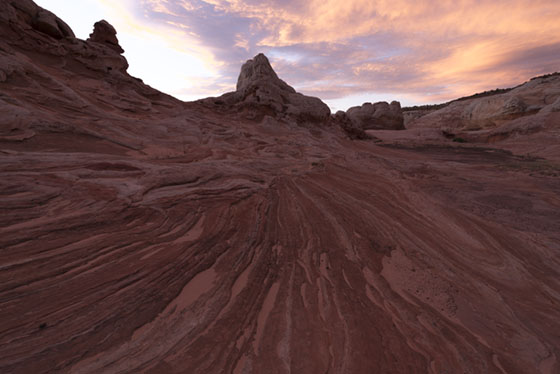
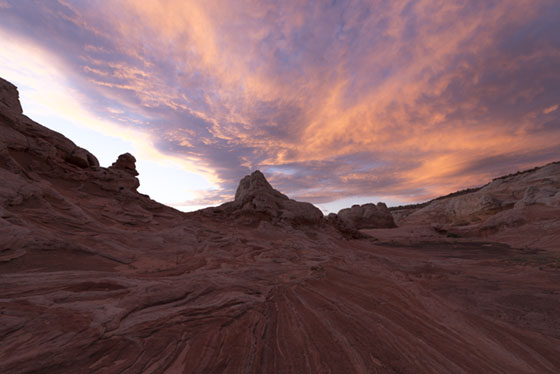
I’d been wanting to visit this location for years. In search of a unique composition, I decided to head past the ‘White Brain’ rocks, and go to the very outer rim of the area. There I found some lovely textured leading lines to work with.
Not knowing where the fast-moving clouds would end up at sunset, I chose a few different compositions, each with leading lines pointing toward different background objects. That way I could set up shop, and quickly change composition if the clouds moved elsewhere. I particular like this composition because the foreground looks a little bit like flowing lava. And the sky also almost mirrors the foreground lines.
I did also shoot the very interesting White Brain rocks, but I’ll publish that image in the not-too-distant future.
By the way, if you’re a landscape photographer, be sure to check out my latest article: 32 Shooting & Planning Tips To Instantly Improve Your Landscape Photos
There’s a huge amount of useful information in there for fellow landscape photographers.
To blend the exposures I used Apply Image in Raya Pro. I had to dodge and burn the masks slightly, as seen in my Mastering Raya Pro course, to come out with the ideal blend.
Once blended, I stitched the tiles in Photoshop and performed a little perspective correction. Here are two easy ways to correct distortion in your wide angles: Photoshop Secrets 20: Easily Remove Distortion (Perspective & Barrel)
And I finished by creating a gentle custom vignette that you can learn to do here: Quick Photoshop Secrets 9: Awesome Vignette For a Moodier Scene.
Finally, the image was sharpened and resized using my free sharpening tools, which you can download here: Quick Photoshop Secrets 16: Perfect Sharpening & Resize for the Web
As always, I hope you found this useful.
Jimmy
Share this:

This entry was posted on Tuesday, July 12th, 2016 at 12:33 pm
You can follow any responses to this entry through the RSS 2.0 feed.
excellent Jimmy. Appreciate it again. Top photo, great explanation, again
🙂
Fantastic photo Jimmy
Thanks for this edition Jimmy! Glad to see you branching out with the use of video. Love the new video content, hope you stick with it.
Great photo and explanation.