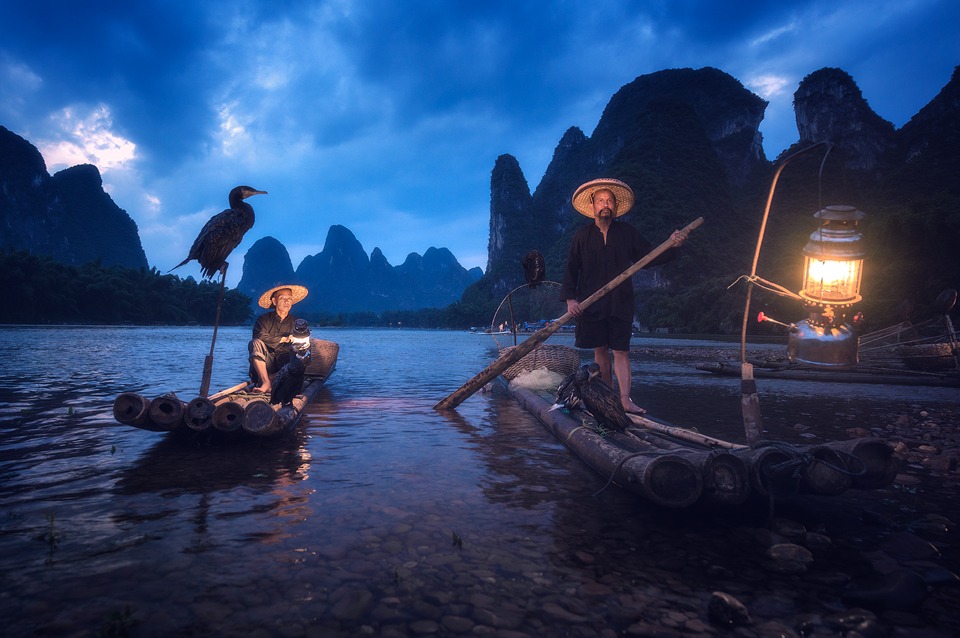
Legendary Cormorant Fishermen At Blue Hour
Cormorant Fishermen
 I’ve wanted to photograph these famous fishermen for a long time.
What many photographers don’t say, mainly because they don’t want to spoil the illusion, is that these guys are no longer fishermen. Since they make more money from tourists, they gave up their trade to become professional models. And who would blame them?
Often, in photos of these fishermen, you see the fishing birds with their mighty wings wide open. It makes for an interesting sight, and I’d hoped to capture that, too.
What I didn’t realise was that to get the bird to do that, the fishermen (or at least our fishermen) grab the bird by the neck and dunk it in the water. The bird then stands with its wings open to let them dry out. I honestly didn’t have the heart to ask the fisherman to do that.
I wanted the image, but not at the obvious discomfort of the bird. I compromised with a composition that still emphasised the bird to some degree, sitting against the blue sky.
UPDATE: Nick Page has pointed out to me that the fishermen put the birds in the water to cool them down, rather than as a form of cruelty. You can see our conversation in the comments section of this article: http://www.nickpagephotography.com/tutorials/2017/3/16/photographing-rural-china
________________________________________________________
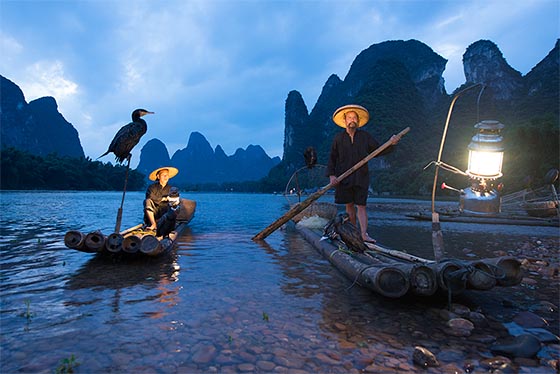
How I Created The Image – Before/After Post-Processing
The Cool Bits -Technical Info
Processing Time: 20 minutes
Exposure Blending method: Luminosity Masks Raya Pro
No. of Exposures: 2
EV Range: -2, 0
Aperture: f/4
ISO: 1600
Focal Length: 21mm
Lens: Nikon 14-24 f/2.8
Camera: Nikon D800
Plugins: Nik Color Efex Pro Contrast Filter & Cross Processing
Luminosity Masks: N/A
Workflow Explanation – Cormorant Fishermen
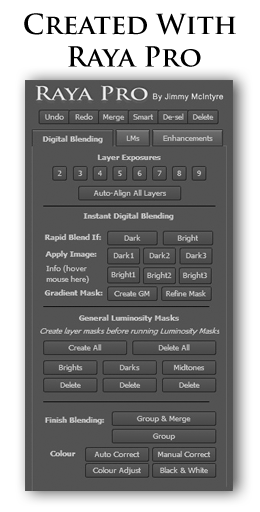
This image was created using Raya Pro – The Photoshop Plugin.
Processing the image in Raya Pro was simple. After restoring the sky in the base exposure by bringing down the highlights in Adobe Camera RAW, I then used luminosity masks to isolate the bright lamp, and the brightest parts of the fishermen.
An exposure 2 stops lower restored these highlights nicely.
I purposefully made the image extremely dark, with the bulk of the histogram shoved all the way to the left. Despite that, I protected the shadows so that there wasn’t any true black in the photo.
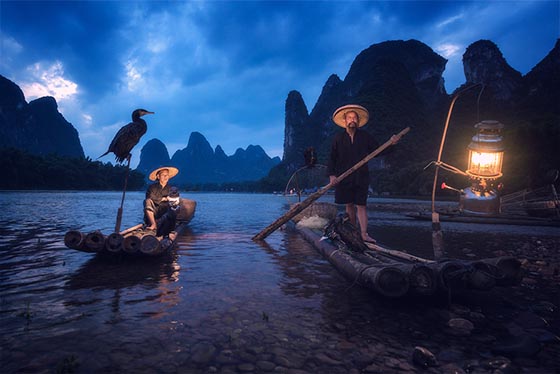
Darkening the image gave the scene much more atmosphere, and also exaggerated the lamp to the right – a feature I quite enjoy. To give the lamp a soft glow, I used the Glow Free button in Raya Pro and painted a light yellow around it.
To deepen the mood I used the Orton Effect in Raya Pro, and also Light Vignette. To add a little bit more drama to the sky I used the Pro Contrast filter in Color Efex Pro.
Back in Color Efex, there was something about the colouring of the image which didn’t work as well as I’d hoped, so I experimented with the Cross Processing filter and found a nice combination of colours.
After that I did the usual sharpening and web preparation in Raya Pro to finish.

Share this:

This entry was posted on Monday, September 14th, 2015 at 8:23 am
You can follow any responses to this entry through the RSS 2.0 feed.
A great lesson using Raya Pro. Im looking forward to sharing your incredible journey.
Thank you for following along.
Great photo, and thank you for being transparent about the reality behind it – very interesting.
Thank you Melissa 🙂
you made the right choice 🙂
Not sure what I’m missing here Jimmy but the two photos are completely different shots ?
It’s the same photo. Just drag the slider that sits in the middle of the image to left or right and you will see.
– I’ve never even realised you could do that
Fantastic photo, Jimmy. Whereabouts in Indonesia do you find this fantastic backdrop and the cooperative fisherman/models?
Thank you for coming to China.