Nature’s Skyscrapers – Kyoto Bamboo Forest
Nature’s Skyscrapers – Kyoto Bamboo Forest
The biggest photography event of the year has arrived!! The 5DayDeal always promises an incredible package for photographers and a generous amount of money to charities as a wonderful byproduct. I downloaded the megabundle last week and loved it! I encourage you to check it out here: Sale Ended!
The Cool Bits – Technical Info
Processing Time: 30 minutes
Exposure Blending method: N/A
No. of Exposures: 1
EV Range: N/A
Aperture: f/11
ISO: 100
Focal Length: 14mm
Lens: Nikkor 14-24mm f/2.8
Camera: Nikon D800
Plugins: Nik Color Efex for local detail enhancement
Luminosity Masks: N/A
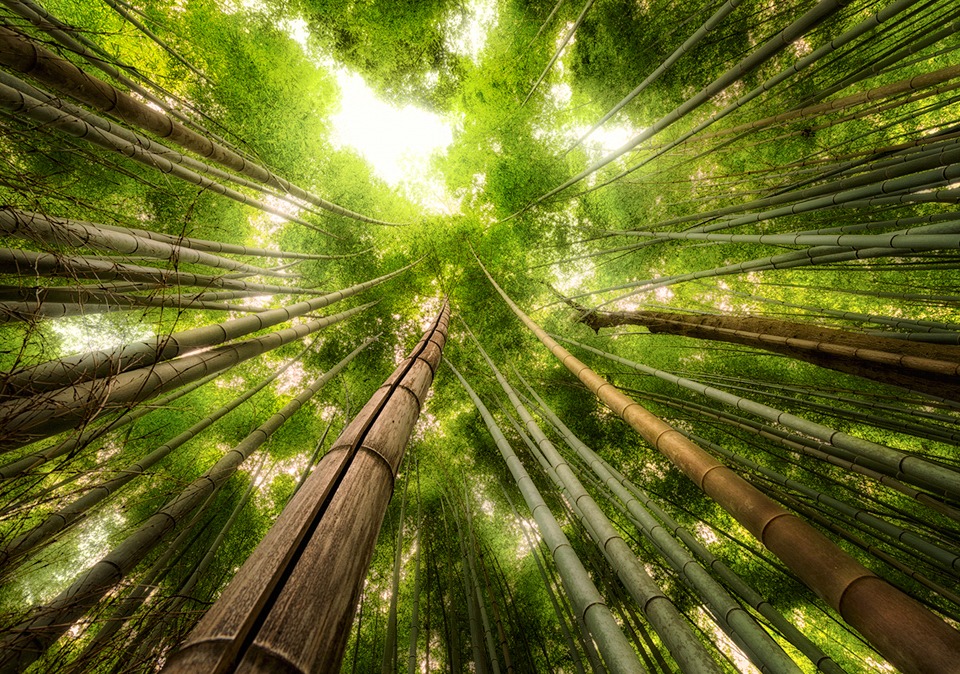
Today’s Photo – Bamboo Forest
To learn my post-processing techniques, feel free to check out my courses: The Art of Digital Blending & The Art of Cityscape Photography
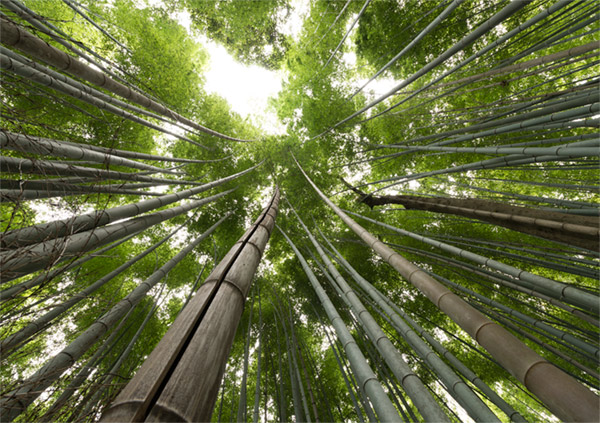
The final image bamboo image differs greatly to the original. In my mind I wanted soft light and rich greens. The original lacked depth of colour and light. To soften the image, I used the Orton Effect, the action for which is included in my Powerpack Actions for free. I then added more yellows to the image via a Color Balance layer.
I added contrast by pulling the highlights in and the shadows along on a Levels layer. I created a gentle Detail Extractor layer for the main bamboo trunk in the foreground. This, I hoped, would contrast nicely against the softer trees.
I wanted to create a softer brightness in between the breaks of branches where the sky appears. To do this I opened a new layer, changed the foreground to white, and chose a soft brush. I then changed the Blend Mode of this layer to Soft Light. Finally, I began painting white in the sky. This brightened the area, and since the brush was extremely soft, it softened the hard edges of the leaves around the sky.
To finish, I created a strong vignette, and an inverted vignette. Essentially, I made a circular selection in PS with the Elliptical Marquee tool, and then inverted the selection. This made sure only the outer edges were selected. I then opened a Curves layer and lowered the midtones, thus darkening the outside of the image.
To bring more attention towards the tops of the trees to the centre, I then reselected the previous selection I used for the vignette, inverted it again so that the centre of the image was selected, and this time raised the upper midtones in the new layer, thus brightening the centre of the image.
In many of my images I love a strong light source which we are led to by strong lines, as with my previous image of Shiba Ryōtarō’s Library.

Share this:

This entry was posted on Thursday, October 16th, 2014 at 1:46 pm
You can follow any responses to this entry through the RSS 2.0 feed.
Love your work Jimmy and I also have your Art of Digital Blending courses that have really shown me how powerful PS is. Just wanted to show my gratitude because I was stumped on how to edit my photo of the bamboo groves of Kyoto as well until I saw your post. I hope you’ll be able to take some time and let me know what you think. http://www.efficacydesign.net/tbt-arashiyama-kyoto-japan/