Crooked Apartments In Hong Kong
Crooked Apartments In Hong Kong
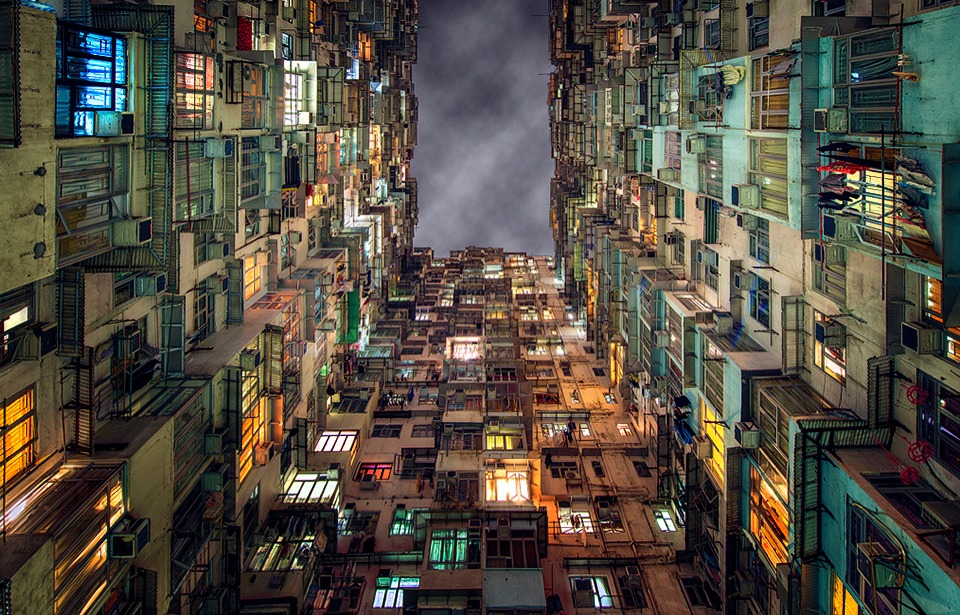
These ancient looking apartments were simply too good not to shoot. As we set up, locals of all ages came by and asked us what we were doing. Groups of residents gathered around looking up at the top of the towers, trying to figure out what it was we were shooting. We couldn’t explain that these structures simply don’t exist in Europe, and so to us they are fascinating to capture.
I’m now sitting at Incheon airport in Seoul, heavy-eyed. It’s 6:00am. Hong Kong was a superb trip – photography through-and-through. Early mornings and late nights meant I came away with 4, possibly 5 images that I’m happy with. That’s a good outcome.
I’ve been invited to become part of a contributor program with 500px.com, writing content for their site. So the next month will be devoted to creating more free tutorials.
And then I can look at planning my next trip – Japan or Shanghai.
The Cool Bits – Technical Info
Processing Time: 1 hour
Exposure Blending method: N/A
No. of Exposures: 1
EV Range: N/a
Aperture: f/5
ISO: 200
Focal Length: 14mm
Lens: Nikkor 14-24mm f/2.8
Camera: Nikon D800
Plugins: Nik Color Efex for local contrast adjustment and change of light
Luminosity Masks: Used to preserve highlights during contrast adjustments
Today’s Photo – Crooked Apartments
Please remember that my Art of Digital Blending course, and The Masterclass Post-Processing pack will go up in price very soon, so now is the best time to invest: Luminosity Mask Course
This was an extremely fun image to process. I was committed to letting my imagination run wild and create scene of fantasy.
In ACR I brought the shadows up slightly, recovered some of the highlights, and removed some of the warm tones. I spent a lot of time correcting distortion and lining the image up correctly. Then I selected the sky using the Quick selection tool, destaurated and darkened it, and added in some clouds.
I increased the colours in the image through a Vibrance layer, but to add an extra feeling of mystery, I added some blues to the shadows through a Curves adjustment layer.
I then dodged the windows to the bottom to increase their brightness. I felt this was very important as it drew attention to the windows and gave extra emphasis that there was life in these buildings.
I did a few usual adjustments in Nik Color Efex, increased general contrast through a Levels layer, and finished off with a viginette using the Elliptical marquee tool.
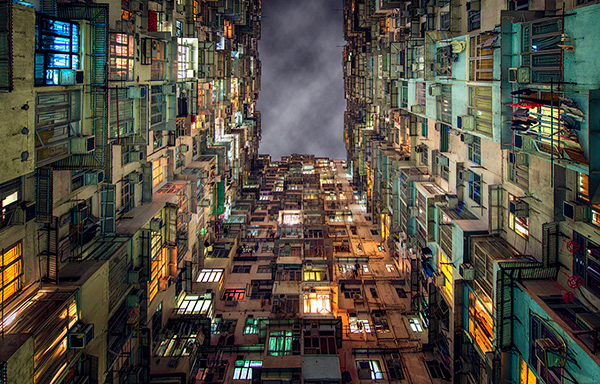
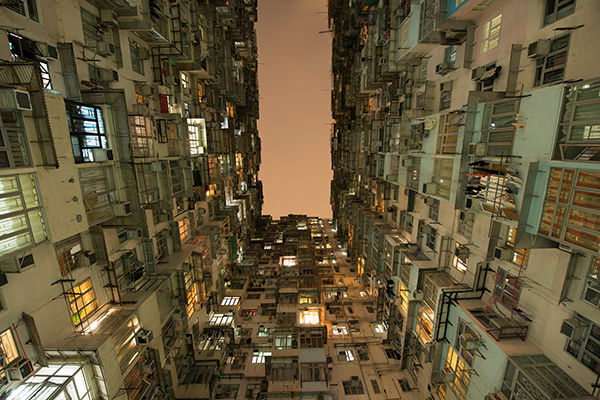
Before/After Comparison

Share this:

This entry was posted on Thursday, June 19th, 2014 at 7:08 am
You can follow any responses to this entry through the RSS 2.0 feed.
Captivating photo, but it leaves me wondering how you actually took the photo.
Tripod is a given, but how did you focus? I could imagine handheld focus on on say the bright window in the centre and then mount on camera, but for framing the shot you were lying on your back?
Hi there, the camera was indeed on a tripod, at about chest height, so I was stooped while composing the shot. I focused manually about 3/4 the way up the building.
I hope that helps
Hi Jimmy, that final image is great, I think I would have missed that photo opportunity considering the original image. Great postprocessing work. You mentioned that you did spent a significant amount of time correcting distortion. Did you do that with the Adaptive Wide Angle Filter in Photoshop?
Hi Dirk, I didn’t use the Adaptive Wide Angle Filter. Instead I used a combination of the manual controls under Filter>Lens Correction… And also the distort tool under Image>Transform. It took some work but it eventually straightened out 🙂
I watched one of your tutorials, and then looked in my ACR for the distortion controls that you mentioned. Mine used to have that, but no longer does. What happened, and how can I get it back?
Nice job on web site for B&A feature. I like it. I just finished working through the the luminosity masking tutorials step by step for the second time and am reviewing them again just to appreciate the way you navigate the options to get to the desired outcome. Watching the Cityscape tutorials is also expanding my creative ideas. I feel a little bit like I did the first time I visited Ireland and rented a car. I knew the round a bouts would lead me eventually to where I wanted to go, but I sometimes had to backtrack because I’d gone down the wrong road on my first guess! Since I shoot strictly mirror less these days, using an OM-D E-M1, I will often try and take advantage of the 32bit workflow when possible to yield a sharper, less noisy ‘negative’, so I appreciate you sharing some tips on that workflow at the end of the tutorials. Overall, I am especially appreciating the ‘forgivingness’ of this workflow — although it’s a little more time than what I was doing before – mainly using Lightroom and Topaz Plugins and selective masking/adjustments with some final touches in Photoshop, I find that using the plugins with luminosity masking in Photoshop CC is giving me significantly better results in improved noise/artifact control and more powerful light and shadow control. For creating gallery sized prints, I especially appreciate your workflow. While I’m pretty skilled with HDR Efex Pro and Photomatix Pro 5, it’s more difficult to protect pixels in that workflow, and the smaller & denser the sensor, the more challenging it becomes.